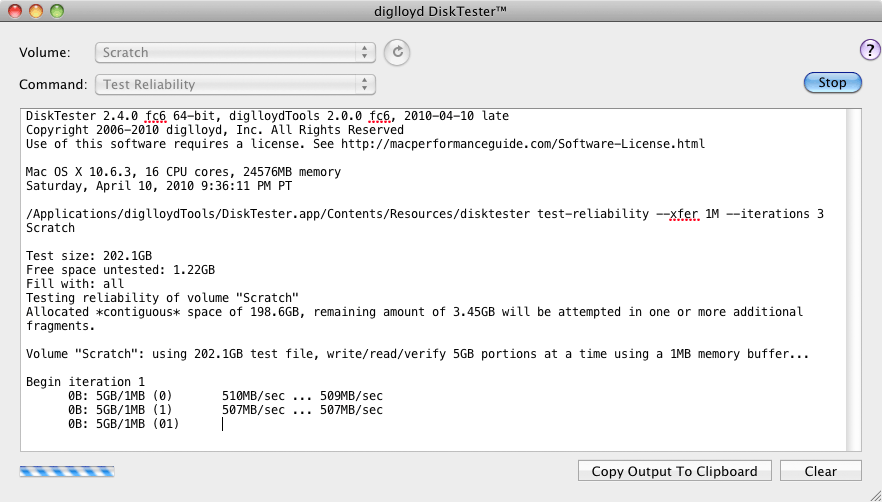
test-reliability
The test-reliability command writes one or more patterns to the drive, then reads back and verifies the data, all in the most efficient multi-threaded way.
If a drive problem is suspected, test-reliability is a good way to check it out. However, large drives can take a day or two to test thoroughly with multiple patterns, so you’ll need patience. Also, drives that have serious hardware problems may just hang and lock the system—but that in itself is useful to see.
Running DiskTester test-reliability
Using DiskTester.app, choose . Suitable defaults are chosen. You can exercise more control using the command line.
Command line usage
The command line allows greater control. Please use disktester help read-files for details on the available options. In general, there is little reason to use the command line.
test-reliability
    [--iterations|-i <count>]                               "1"
    [--xfer|-x <size[K|M|G|T]>]                             "4M"
    [--test-size|-t <size[K|M|G|T]|max>]                    "max"
    [--pattern|-p <0|1|01|10|dual|triple|all|randomblock|<any>>] "dual"
    <volume-name>
Examples
Various command line possibilities. “BadBoy” is the volume name.
disktester test-reliability --xfer 8M BadBoy
disktester test-reliability --pattern dual BadBoy
disktester test-reliability --pattern triple BadBoy
disktester test-reliability --pattern all BadBoy
disktester test-reliability --pattern randomblock BadBoy
disktester test-reliability --pattern 0 BadBoy
disktester test-reliability --pattern 1 BadBoy
disktester test-reliability --pattern 0xDEADBEEF BadBoy
Copyright © 2008-2010 diglloyd Inc, all rights reserved
